
Why a five-minute routine matters in the Kansas City metro
Spring and summer in the Kansas City metro bring fast-moving storm systems that can go from a watch to a warning in under an hour. Hail, straight-line winds, and heavy rain are regular visitors from March through early summer, and they don't always announce themselves far in advance.
The good news is you don't need a long checklist to be ready. A short walk-around before the weather arrives, and another one after it passes, covers most of what matters. It also gives you something useful if you end up needing a storm and hail damage repair visit later: a clear record of what your roof and gutters looked like beforehand.
Why the before-and-after record actually matters
Insurance claims for wind and hail damage often come down to proving what changed and when. Without a baseline, it's your word against an adjuster's assessment of what counts as storm damage versus normal wear from sun and age.
What photos should capture
Stand at each corner of the house and get a full angle of the roofline, then move in on the gutters, downspouts, and any vents or flashing you can see clearly. Date-stamped photos on your phone are enough, you don't need a professional camera or a ladder.
If you've had any prior repairs, photograph those areas too so there's no confusion later about what was already patched versus what's newly damaged. Save the photos somewhere you won't lose them, like a cloud backup or email to yourself.
Why timing matters
Take your photos as soon as a storm watch is issued, not after the warning sounds. Once wind and hail start, visibility drops and it's no longer safe to be outside documenting anything.
A quick habit of photographing before every severe weather season, not just when a specific storm is forecast, also gives you a running record over time. That's useful if damage accumulates gradually rather than from one dramatic event.
| Task | Before the storm | After the storm |
|---|---|---|
| Roof and gutters | Photograph from the ground at each corner | Compare against before photos for new damage |
| Yard items | Bring in or tie down anything loose | Check for debris that may have hit the roof |
| Attic and ceilings | Note any existing stains | Check for new stains or light through the roof deck |
| Downspouts | Clear of leaves and debris | Check for clogs from storm debris |
What's actually on the checklist
The walk-around itself is simple and doesn't require any special tools. You're looking at things from ground level: the roofline, the gutters, the yard, and a couple of spots inside the house.
Most of this takes less time than it takes to read this article. The key is doing it consistently when a watch is issued, rather than trying to remember everything once the sky is already turning.
Step-by-step: the five-minute walk-around
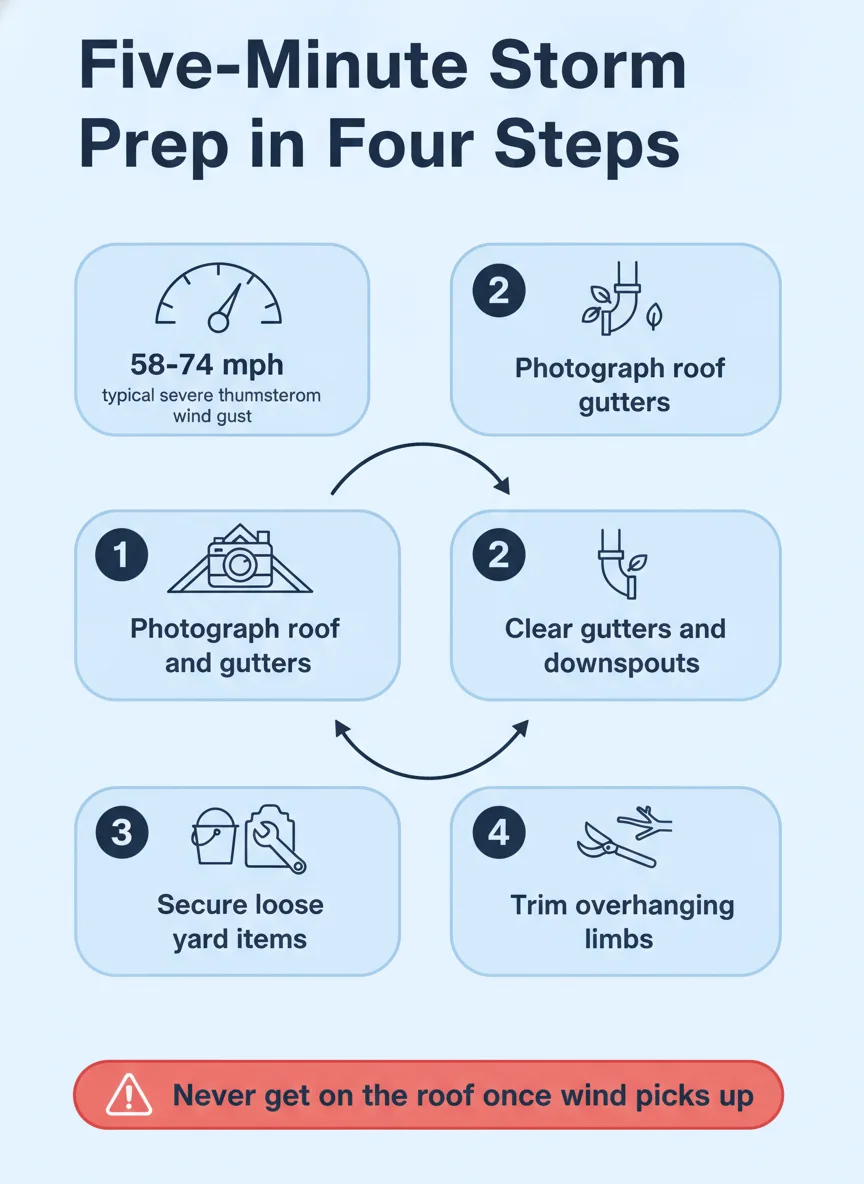
Work through these in order and you'll cover the roof, the gutters, and the yard without backtracking.
- Photograph the roofline: Walk the perimeter and photograph each side of the roof and the gutters from the ground, including any existing dents or wear.
- Clear gutters and downspouts: Pull out leaves and debris so water has somewhere to go during heavy rain instead of backing up under the edge.
- Secure loose yard items: Bring in patio furniture, trash cans, and anything else wind could lift and throw against the siding or roof.
- Trim overhanging limbs: Cut back any branches hanging close to or over the roof, since these are a common source of impact damage in high wind.
- Know your attic access: Locate the attic hatch or pull-down stairs so you can check for leaks quickly if you hear dripping during the storm.
- Find the water shutoff: Know where the main water shutoff valve is in case a leak gets bad enough that you need to stop water flow to that area.
What to look for the morning after
Once the storm passes, do another ground-level walk before you do anything else. You're comparing what you see now to the photos you took beforehand.
Signs on the roof and in the yard
Look for shingles that look displaced, curled, or missing compared to your before photos, along with dented vents, dented gutters, or metal flashing that looks bent. Granules collecting in the gutters or pooling at downspout outlets are another sign hail may have hit the shingle surface.
Check the yard for debris that could have come off the roof, like shingle pieces or granule buildup on the driveway and walkways. Dented siding or dented outdoor AC fins are a good indicator that hail was large enough to affect the roof too.
Signs inside the house
Check ceilings and the attic for new water stains, damp insulation, or daylight coming through anywhere it shouldn't. Even a small stain that wasn't there before is worth noting and photographing right away.
A musty smell in the attic or upper closets can also signal a slow leak that hasn't shown up as a visible stain yet. If you're unsure what you're looking at, how to check your roof for hail damage from the ground walks through it in more detail.
What a homeowner can handle versus what needs a pro
The ground-level checklist, the photos, clearing gutters, securing the yard, is all homeowner territory. None of it requires climbing on the roof or any special equipment, just a few minutes and a phone camera.
Anything above the gutter line is a different story. Getting on the roof after a storm to assess shingle damage up close, check flashing, or look at vent boots is a job for someone with the right harness and experience walking a wet or debris-covered surface safely.
If your walk-around turns up anything suspicious, missing granules in the gutters, a dented vent cap, a new ceiling stain, that's the point to call in a professional for a closer look rather than guessing at the extent of it yourself.
Make it a habit, not a scramble
Storm prep works best as a routine you run every time a watch goes up, not something you figure out mid-crisis. Keep your phone handy, know your five steps, and you'll have a clear picture of your home before and after, whether you're in Riverside or anywhere else across the metro.
If a storm does leave its mark, Signature Roofing is available to walk through what you find and help you sort out next steps.
Frequently asked questions
What should I do to my roof before a storm hits?
Walk the exterior, photograph the roof and gutters from the ground, clear debris from gutters and downspouts, and bring in or tie down anything loose in the yard. This takes most homeowners under ten minutes and gives you a clear before-and-after record if damage happens.
Do I need to get on my roof before a storm?
No, you should never climb onto the roof right before a storm or once wind picks up. Everything you need to check, loose shingles, debris, overhanging branches, can be seen from the ground or with binoculars.
Why should I photograph my roof before a storm?
Before photos give you a clean comparison point if you need to file an insurance claim afterward. Without them, it's harder to prove new damage happened during the storm versus wear that was already there.
What should I check on my roof after a storm passes?
Look from the ground for missing or displaced shingles, dented vents or flashing, and granules collecting in the gutters or on the driveway. Check the attic and ceilings for new stains or light coming through, since those are early leak signs.
How often do severe storms hit the Kansas City metro?
The region sees multiple rounds of severe spring and summer storms most years, often bringing hail and high straight-line winds. Keeping a basic storm routine ready means you're not scrambling when a watch gets issued.